You are using an out of date browser. It may not display this or other websites correctly.
You should upgrade or use an alternative browser.
You should upgrade or use an alternative browser.
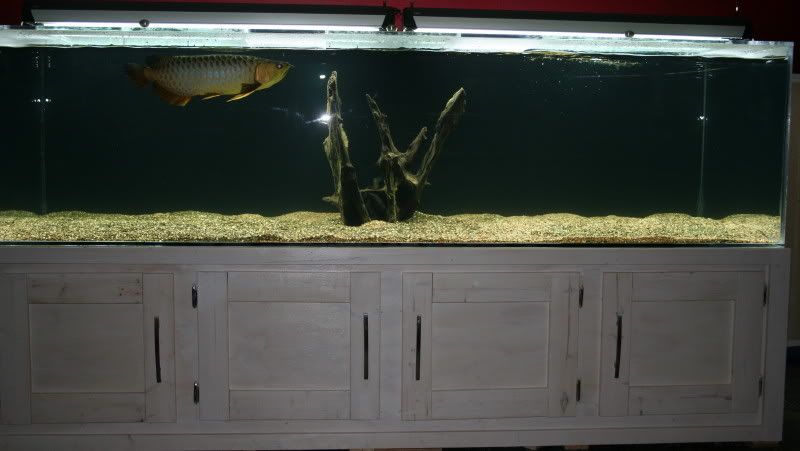
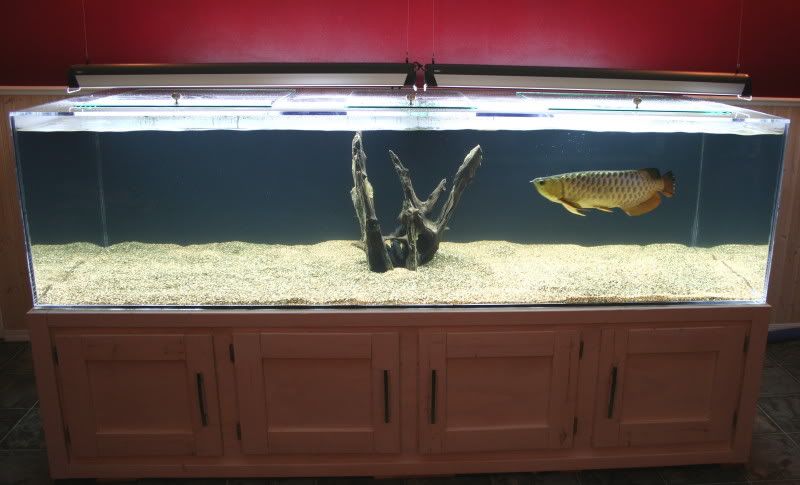
New 360 gallon set-up
- Thread starter RDFISHGUY
- Start date
RDFISHGUY
New Member
Here's the breakdown.
$1400 acrylic and solvent cut to size and planed.
$300 for sump
$300 for heater and pump
$500 for the stand
$200 lights? Can't remember for sure.
$150 for gravel
$100 plumbing parts
$160 for glass tops and knobs
$60 for a guy to come and router the holes for the top.
A glass tank would have to be built in place as it would be too heavy to get down my stairs. There is nobody in Red Deer that builds tanks except hobbyists. Plus you have to use starfire glass to get the same results and I think its expensive. I have to look around to see if I can find a better deal on the acrylic for the next one.
RDFISHGUY
New Member
Not well. He wouldn't go in the bag and I didn't want him on the floor and got sick of being wet so I netted him and he broke his barbel again. I should've waited for help but I wanted to put the little distichodus I bought in Calgary in his tank so I had to do a late night move.
RDFISHGUY
New Member
hi!very impressive it look like glass at first,i ave the same question as flagtail;the top part? reinforcement inside,thickness of acrylic? measurement? the name of the bonding product use to the job,tw ,Merci.


The top is the same as the bottom. I just routered out the openings. I am going to put acrylic guides for the glass to slide in and keep aro from jumping out.
The tank measures 96l x 36w x 24h
The solvent used is weld-on 4. I am going to try a different epoxy next time because there were a lot of air gaps that I was unable to fix and I ended up mixing some acrylic shavings (from the plumbing cut-outs) with weld-on 4 to make a syrup and re-sealed the entire inside of the tank after it was glued together.
Looks awesome, including stand!
Did you make stand also?
Yes I did. Its all pine with white oak stain and varathane.
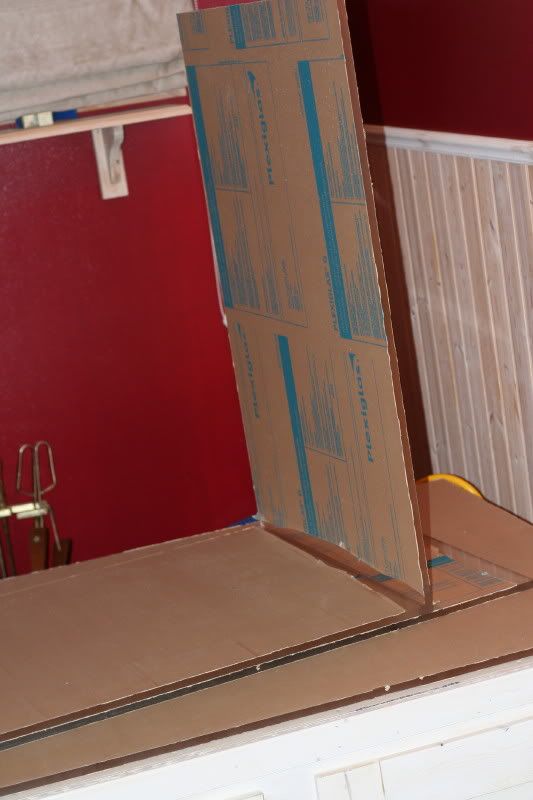
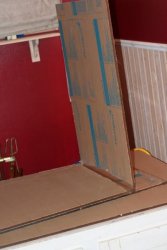
Could you post pics of top of tank? (Bracing)
done
What thickness is acrylic? Tank measurements?
Its all 1/2"
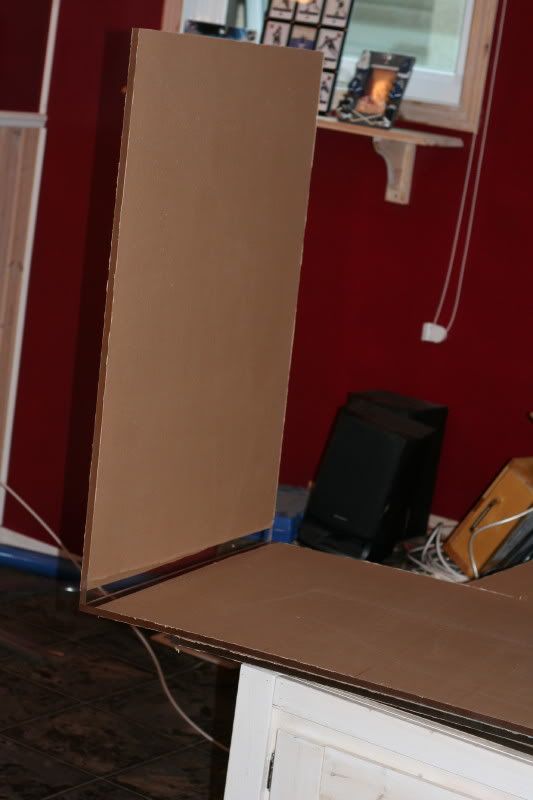
How does this pic correspond to tank?
That is the side glued to the back.
Joey
Moderator
Love it! looks amazing! I wouldnt mind seeing more pics of the build.
How many sheets did you buy? Thats a great price for having them cut to size and planed. . The extra $ to have them planed is really worth it though. Im glad you didnt have to experience doing that your self.
I wanted the same heigth for mine, but was worried about bowing with 12mm thickness. I actually get slight bowing with only 20.5" heigth. How is the bowing so far?
I dont see any overflows, or weirs in the tank. What did you do for plumbing? any pics of the sump?
Weld-on 16 is much easier to use than weld-on 4 mixed with shavings. Although using weld-on 4 is a must as the main cement. It is stronger than 16.
RDFISHGUY
New Member
There is no place to buy it in Red Deer. I had to go to Edmonton to get the sheets. I just ordered the cuts I wanted. I don't notice any bowing. I didn't want to see the plumbing so I just used a 2" bulkhead fitting with a screen threaded into it. The return is a 1" line to a bulkhead fitting with a back to back 90. All are black and the back of the tank is painted black with Krylon fusion.
The sump is actually located in the laundry room along with the sump for my other tank. That leaves lots of storage underneath the tank for all the crap that I've accumulated over the years. Here are a few pics of the sump. Its a 75 gallon tank that I got for $188.

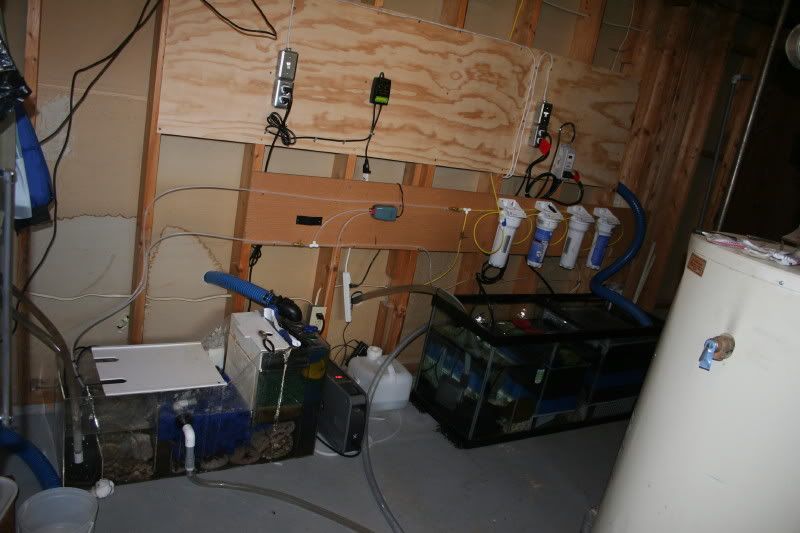
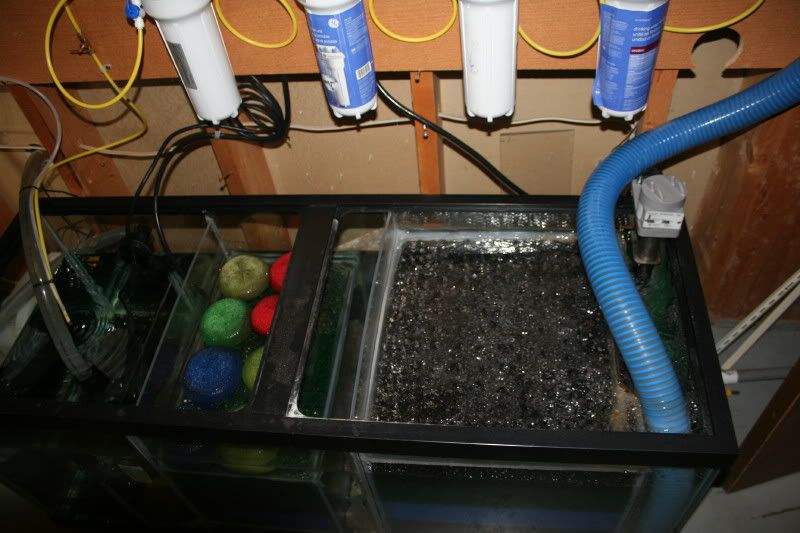
The sump is actually located in the laundry room along with the sump for my other tank. That leaves lots of storage underneath the tank for all the crap that I've accumulated over the years. Here are a few pics of the sump. Its a 75 gallon tank that I got for $188.


Thanks Gerry. Did you get a new red yet?
Ummm, not yet, lol. I just picked up a boat a few weeks ago so I killed my aro budget. I have something in the works though.
RDFISHGUY
New Member
Well there's an easy solution. Sell the boat. Since winter is around the corner and you can't use it anyway. Then buy your aro and save your money to buy a new boat in the spring. JK. Hope to see a new one swimming around your tank and pictures plastered all over the net before long.

