Acrylic tank build

Joey

Moderator
She really does almost glow... it is hard to get a picture of her with out it looking doctored or enhanced. Even when i take a video of her, the camera is constantly changing settings on its own to attempt to capture her colour.

She was on a blue bottom/back tank previously, but now a black bottom/back, so it will be interesting to see if she changes colour and what she will lokk like in a couple if weeks..

You should have jumped on one when they were at the lower price, now their price have gone way up, but still worth it.
 

Joey

Moderator
UPDATE:

Made all of the tops for the tank... each opening has two sections.. one with a finger ghole drilled into it for easy access. The finger hole will also allow for me to flip the tops if the bow as they are made from acrylic as well. There is a guide between each set of lids to restrict them from moving side to side, and insures proper placement anytime they are removed.
Also made tops for the sump, same idea as the tank tops.. made a top for the trickle tower as well.. cuts down on noise, splashing and evaporation.
Also changed my drains return elbows for 90 degree elbows to 45's. cuts down on noise...

I put a quik coat of black paint on the stand as well.. looks horrible now, but i'll do another coat.. this will make it a bit more appealing until i wrap the stand properly.

Other than that, tank is running on minimal equipment right now... i have the upgraded equipment in the mail, should get that by this week, or early the next.

more updates to come...

Here are some pics of the updates.. sorry for the horrible quality, i will have better ones soon...


Over all shot of filter in action
100_6917.jpg


Filter lids
100_6909.jpg


Tower lid
100_6910.jpg


Left side
100_6911.jpg


Right side
100_6912.jpg


Tank lids
100_6916.jpg


close up
100_6913.jpg


guide in between each lid
100_6914.jpg


Top of overoverflow, and return...
100_6915.jpg


Full shots
100_6920.jpg

100_6922.jpg

100_6927.jpg


Inhabitants

100_6949.jpg


The arowana that will be added shortly...

100_6951.jpg
 

Joey

Moderator
VERY VERY NICE!.....I really like your sump built!....

Thanks chen

very nice

are the lids made of acrylic to? if so, after a while won't they sag?

Yes, they are also made out of acrylic.. 6mm(1/4") just like the sump.

Yes, they will also start to sag with time, which is why i did holes in them instead of handles.. which means they are reversable. So when they sag, i can just flip them over and still have a handle on either side...
 

frozen-fire

New Member
Absolutely phenomenal. I am really WOWED.

Great work!

Also, is it in a bedroom? Must be sweet to sleep with it and wake up to it in the morning!
 

Joey

Moderator
Absolutely phenomenal. I am really WOWED.

Great work!

Also, is it in a bedroom? Must be sweet to sleep with it and wake up to it in the morning!


thank you very much!

Yes, it is in a bed room..... Since the tank is so wide, i can sit up watching tv right beside the rays... :D
 

Joey

Moderator
Updated video:

[ame="http://www.youtube.com/watch?v=u7kayU6-NGY"]YouTube - 284 gallon aquarium[/ame]
 

skynoch

Moderator
Wow amazing job. You really have the diy down to a science. Love the bosesami ray I think it's next on my list.
How hard was the acrylic build to the plywood? Once again I think you've inspired me to start a build, just somethng smaller like a sump.
 

Joey

Moderator
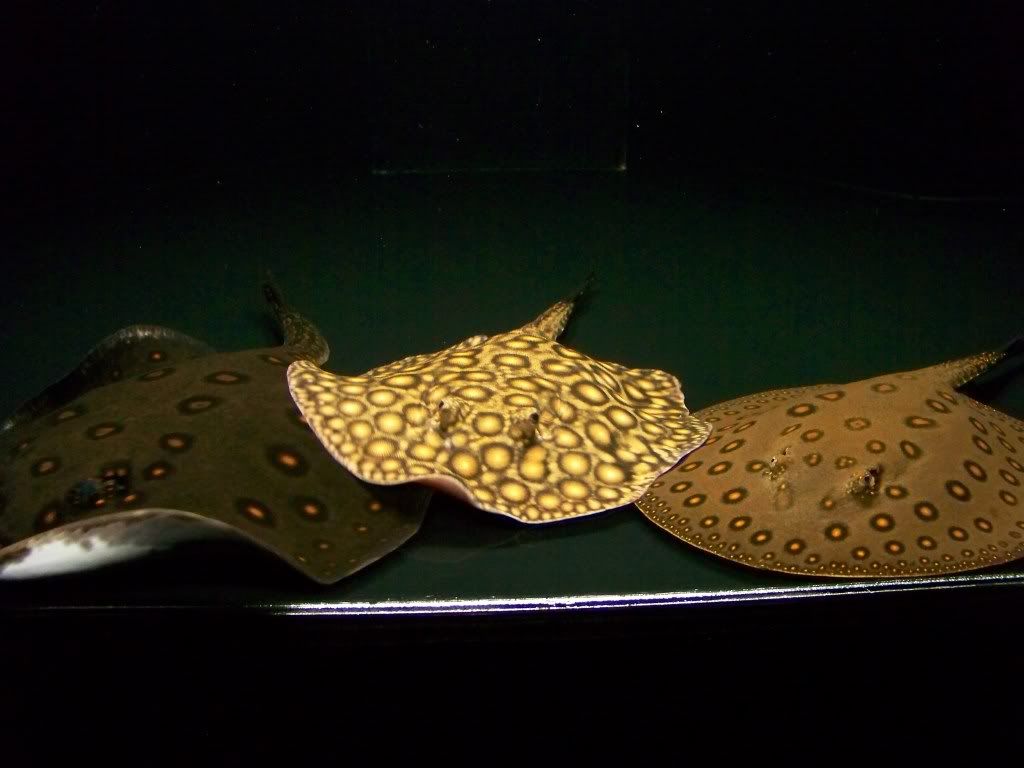
Thanks guys... i highly recommend the Boesemani ray.. Always active, EXTREMLY aggressive eater, and aggressive to other rays during feeding, sometimes when not feeding as well.. will eat anything i put in the tank.. pellet training was a breeze... . from what i have experienced, and from what i have seen from the few others that have this ray, this is true with all of the boesemani. Just be carefull with what other rays might be in the tank.. motoros,leo, and hens are probely best.

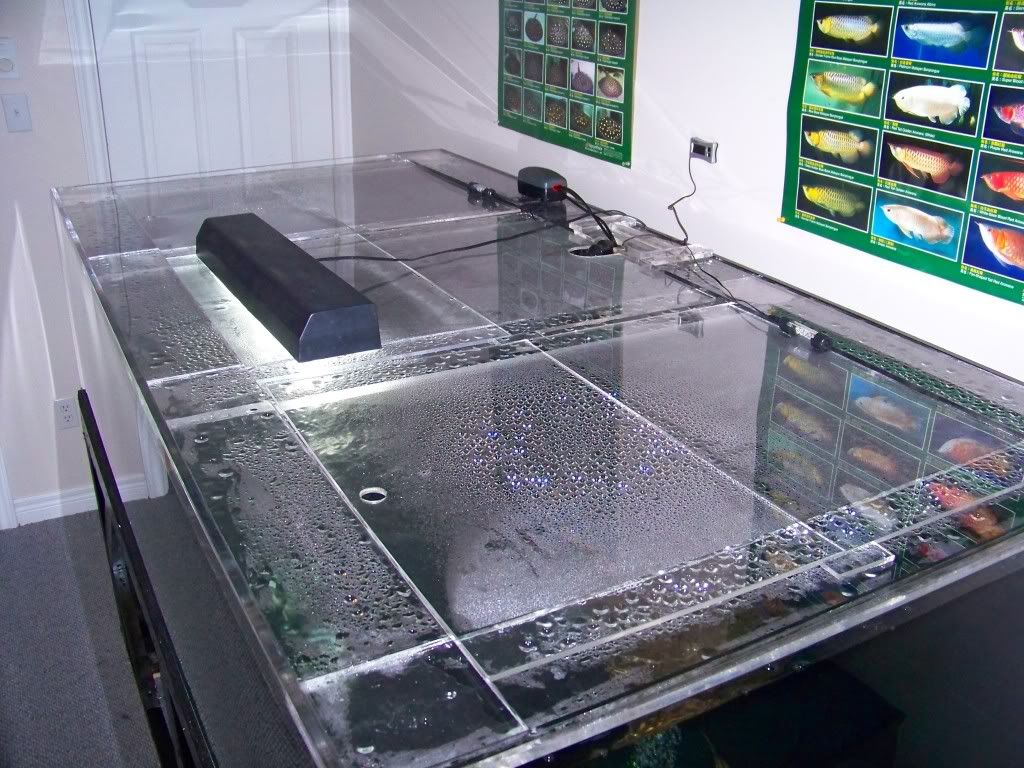
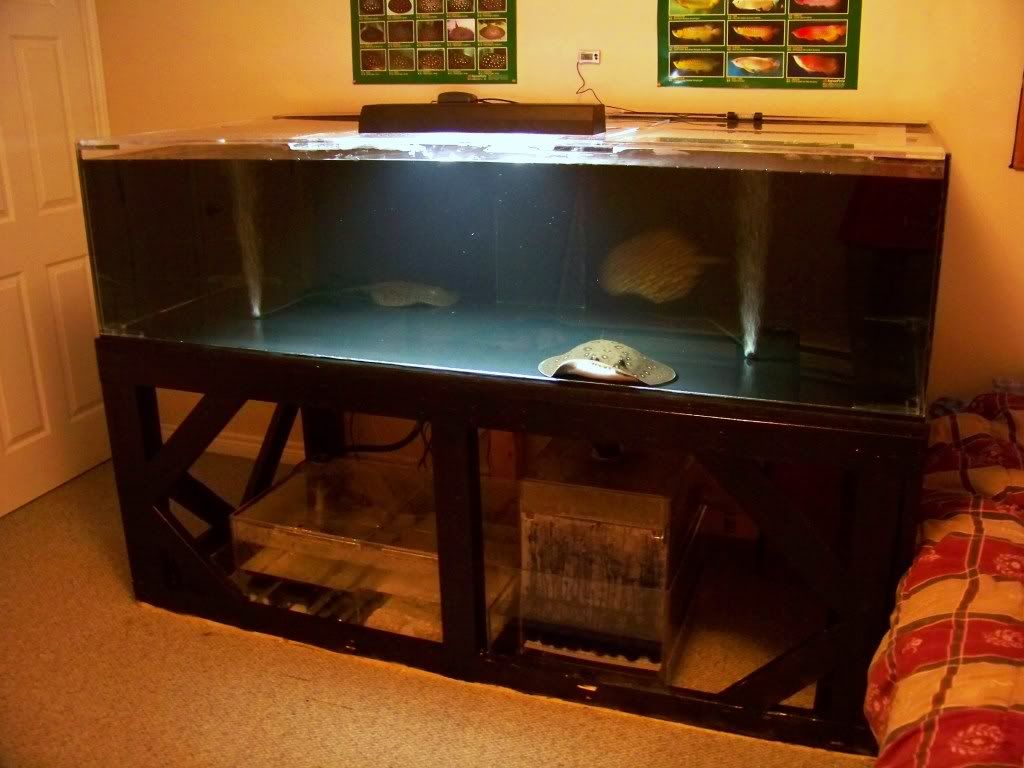
In comparison to a plywood tank build, acrylic is much easier... and plywood tanks are easy(if using zavlar that is) The only downside to working with acrylic is you cannot make many mistakes, and you really only get one shot at it... plus it can cost alot more.

Labour wise, acrylic is easier... you can have it done in a few hours... preparing the edges takes the most time, unless you have a bench jointer or router.. then it takes minutes.... other than that... it is extremly simple.. far easier to build then plywood any day.

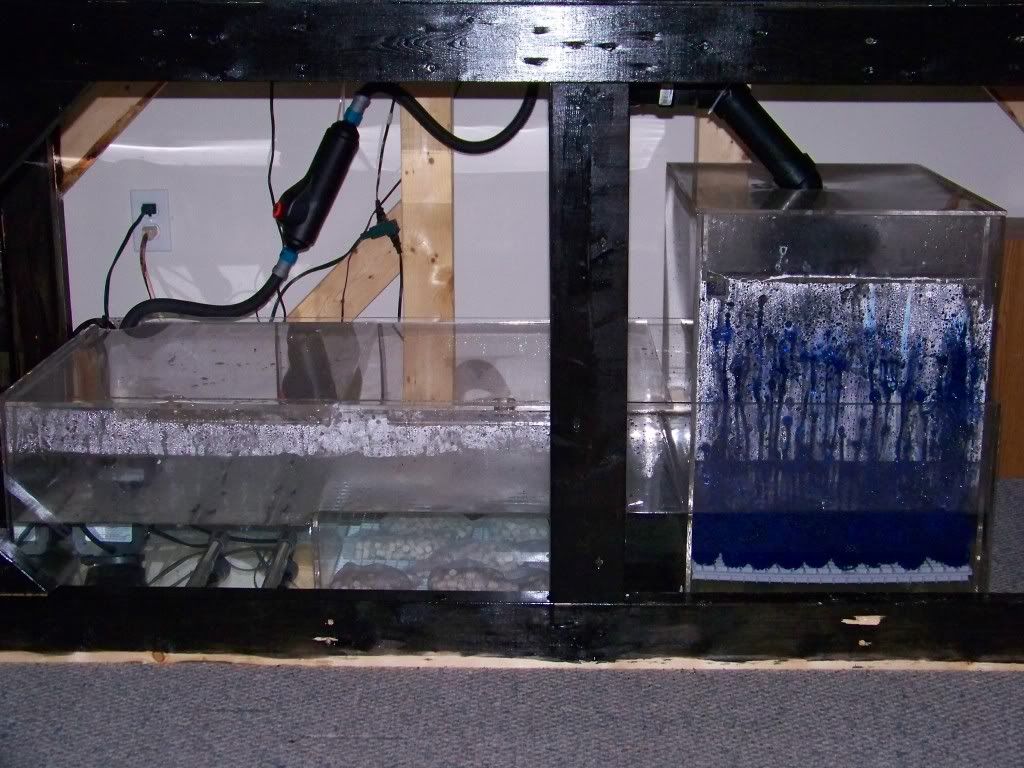
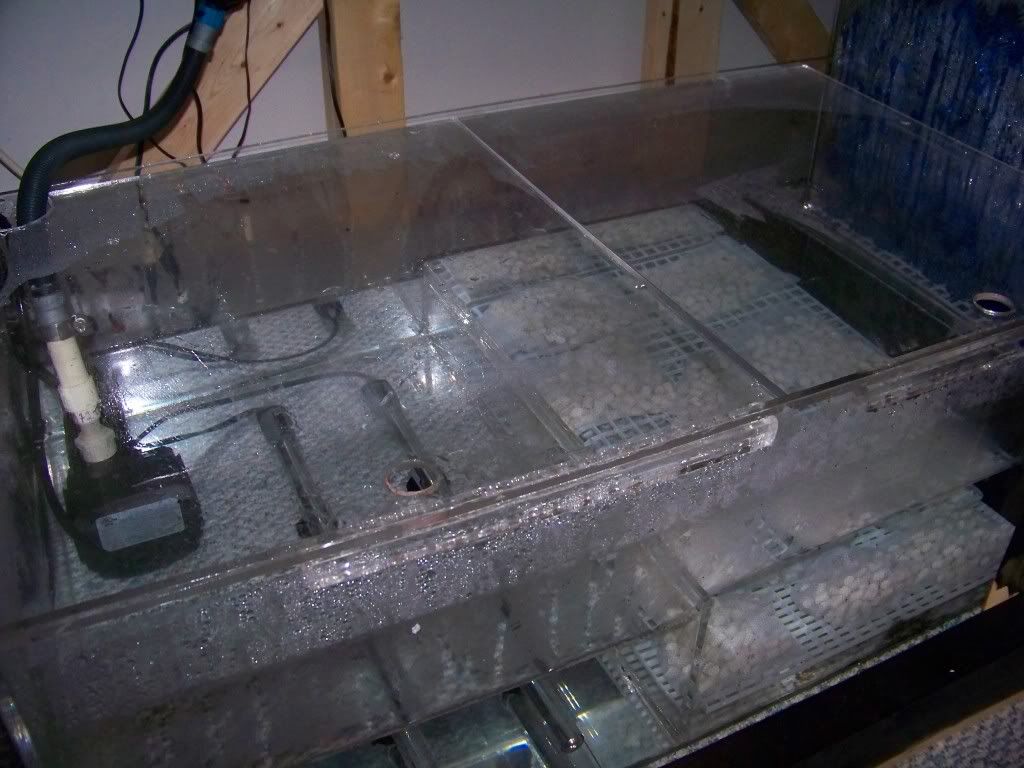
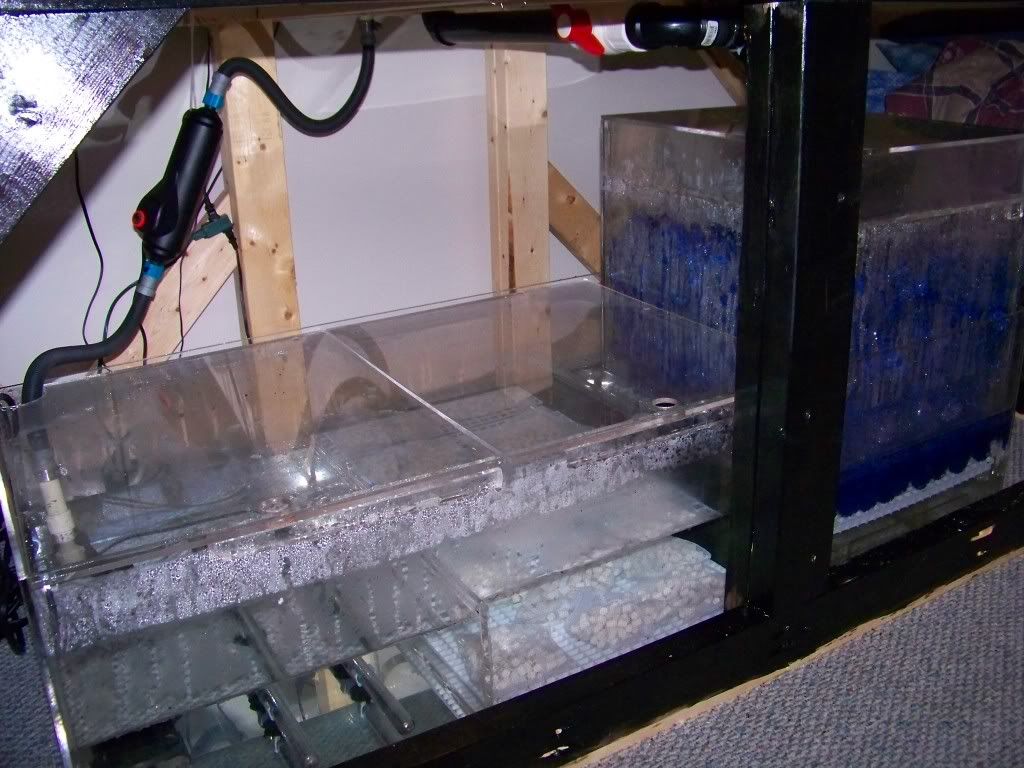
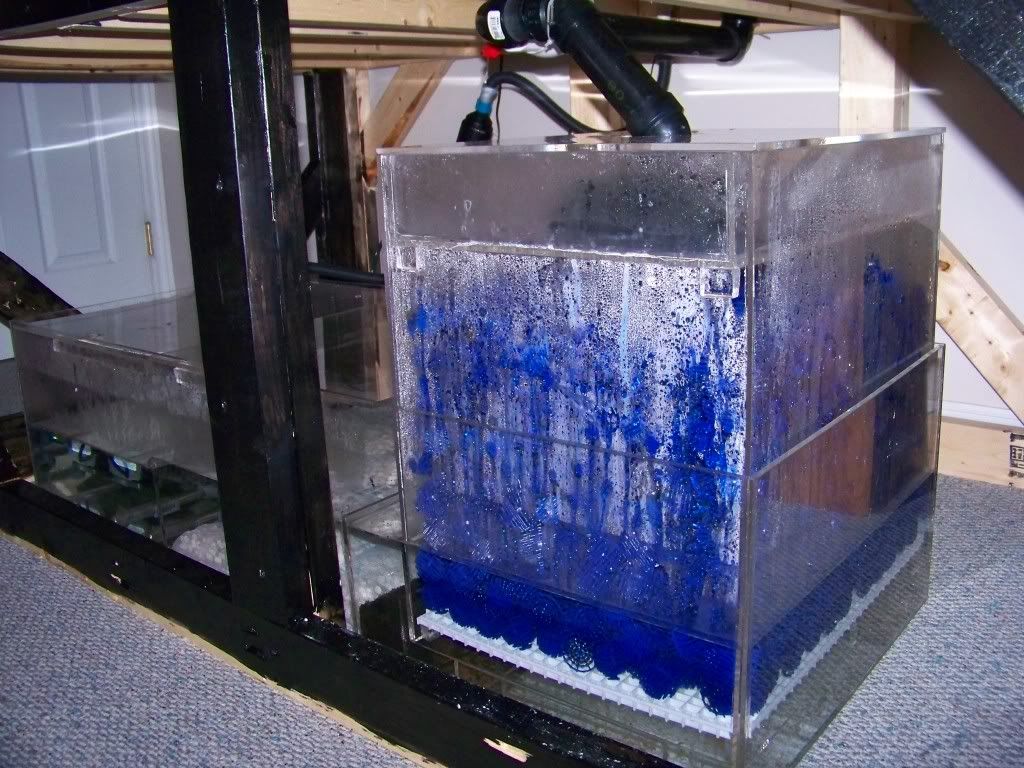
My sump is made from extruded, which is cheap compared to cell cast acrylic like the main tank is made from.. Both types have their ups and down to working with them.. cvellcast is the denser/harder material, so it makes for a cleaner cut and drills easier without melting.. extruded is softer, so it is harder to cut without melting it... but it does cement together faster i found.

When i do another tank, im going with acrylic again.. no questions about it. My best advice would be to buy full sheets, and calculate the biggest tank you can get out of those sheets.. my tank took 2 full sheets.. my next tank will take three. Also, have it professionally cut...

You dont need fancy tools to build one, but they would be nice and save alot of time..
 

Joey

Moderator
I should add, that i have also made videos on working with acrylic... how to cement it... flame polishing it.. and removing cement spills... all on my channel on you tube...
check those out, they should help out alot
 
Top