New Tank Setup

CHILLI RED

New Member
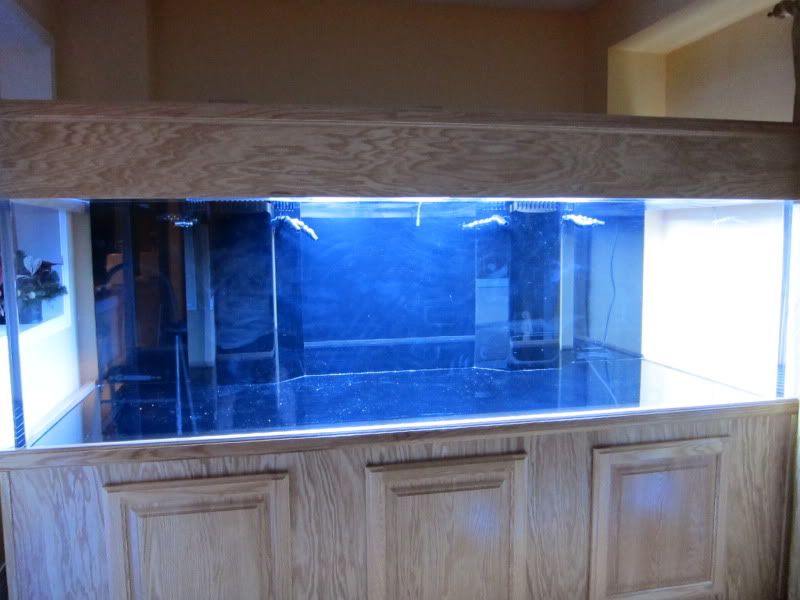
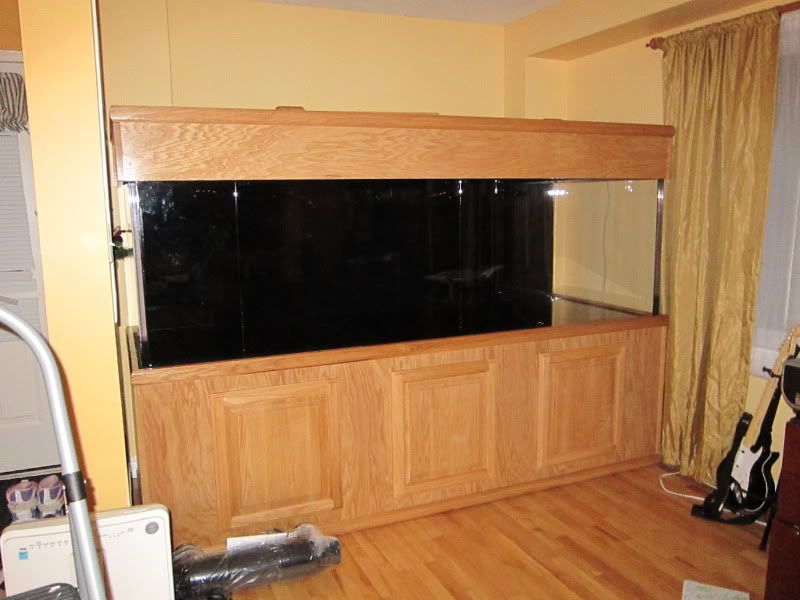
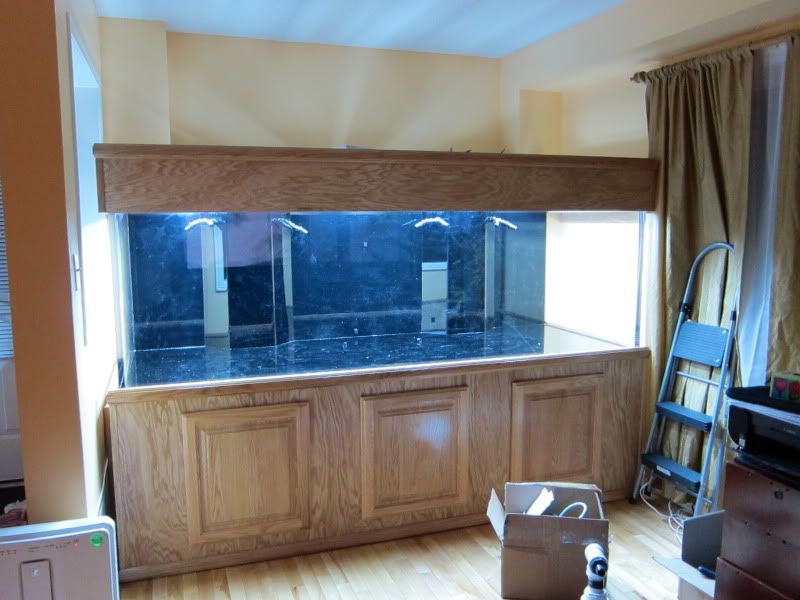
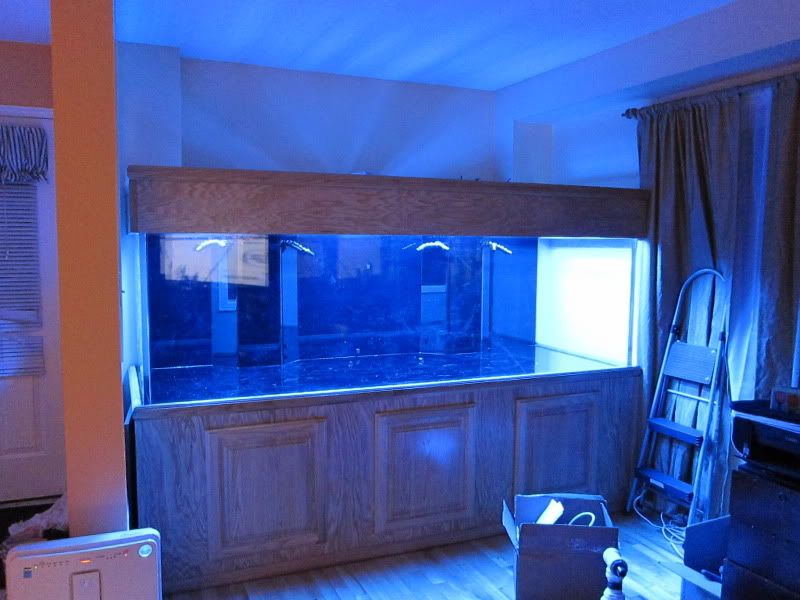
Wow! Awesome tank! Nice stand and canopy also. Thanks for posting the pics and details of your experience with all of this. What are the dimensions on this tank? 8x4x? How many gallons? Hey maybe when you fill it 1/3 with water you could turn on the heater and air bubbles and enjoy it as a hot tub for a while!
 

chen88

Super Moderator
LOL...tank is 8ft x 3ft x 2.5ft high....good idea...get my heater in there hot tub....lol
 

chen88

Super Moderator
Ok....missing a few parts that was missing..no big deal so just going to take a break and head to Lowes to pick them up (PVC for the Pump). Been at it for almost 6 hours setting up...back is killing me...lucky I'm only 5'5" as anyone larger will not be able to get work inside the cabinet with the sump!.

My sump is 5ft long x 20" hight 18" deep. 20" high with the steel frame inside only gives me a couple of inches to play with from top of sump to the underside of tank!...I hope this works!...I couldn't go with a higher stand as I only have clearance of 30"...perfect world would have a 36" Cabinet!....

Also finish insulated as much as I could...I've left the back uninsulated as there are air slots ......here are some pics...not sure how much more I'm going to work on tonight...knowing me as soon as I get home I'll go at it again! lol...

I can't believe what I actually bought! LOL....wife's customers coming to our house all day just laughed at me and shook their heads...LOL

IMG_0459_1.jpg

IMG_0458.jpg

IMG_0457.jpg


IMG_0463-1.jpg

IMG_0468-1.jpg

IMG_0469.jpg
 

chen88

Super Moderator
couldn't find the fittings in Lowes...will have to hit Home depot tomorrow...too tired to continue...did quite a bit since it arrived last night!....tried to get it up and running in one day...think that was a tad agressive!....maybe by the end of the weekend! LOL....

After hooking everything up...need to setup heaters, powerbars for all the electrical components, timers for the lights (actnic and daylight)....also adding a UPS to power my battery back up Air Pump....double safety factor...also adding in my Powerhead 901...this is the monster as i'm going to put at one end to move water around....thinking about also using the two Hydor Koralia 4's I have....but don't think they will do much in a 8ft x 3ft deep tank!.....might just go with the 901.

Need to also figure how to secure the heater sensor inside the tank and to ensure it doesn't flow back up...if that happens the heater will also be on and .....lets say BBQ?
 

Cirrus

Arowana blogger
Now I know why I have been so slow to set up my tank. You have so much to teach me so that I can do a better job. Seriously, I am taking notes here Chen, from learning where to get good titanium heaters, to how to go about insulating the inside of a monster stand (never would have thought to do it), you are teaching me a lot. Thanks on behalf of myself and everyone else. :)
 

aro7

New Member
ohhh sooo nice, the move must of been a !@$#@. but glad its sitting pretty in your house now.
 

chen88

Super Moderator
ok...day 3....I'm going to have to get buddy's of mine to return to my house again....When we inserted the sump on the night of the delivery I didn't know that it was "handed" ie..goes in one direction vs another. The holes for the sump to drain into is has to be closer to the back and thus needs to be swap which means the whole setup have to be push out of the wall and then the sump pushed out and back in. The sump enters into the cabinet from the end of the stand via a side door!.....

Back at it tonight or tomorrow I guess....off to Work.
 

DaiDee

New Member
LOL damn that is a bad@$$ tank chen!

What fitting are you missing for your setup. I may be able to help you out with that. I deal with pvc fittings at my job.


Cirrus, what brand are the vacuum suction cups and how much approx. do they cost?
 

chen88

Super Moderator
Lol! Didn't get to the tank tonight, too tired. Maybe tomorrow after I get the sump turned around first.
 

Boydo

New Member
Will I lied...was going to sleep but really going now!...almost fell asleep inside the tank! LOL...just trying to wipe down inside as best as I can considering how tired I am....tomorrow if possible I'm going to fill 1/4 to 1/3 of water...and go in for my bath! lol

Also will be installing a huge UPS that I have a brand new unit from my office for our server....ordered an extra so I can have it.....

I think the Natural Oak I choose my Cabinet was a good match...even wife liked it but she's not happy with me on the size! LOL...I think she was expecting a lot smaller....she's noooooot happy right now! LOL....


IMG_0422.jpg

IMG_0424.jpg

IMG_0432.jpg


Looks very good! I noticed on your water nozzles in the second picture are a little low. Be sure to install check valves on the pump output to them or in the event of a power failure the tank will sifon down to that level, which would overflow the sump....it would be not cool. Also thanks for sharing the build. :D
 

Cirrus

Arowana blogger
Looks very good! I noticed on your water nozzles in the second picture are a little low. Be sure to install check valves on the pump output to them or in the event of a power failure the tank will sifon down to that level, which would overflow the sump....it would be not cool. Also thanks for sharing the build. :D

Very true.

My Tenecor sump for my old 150 came with a ball check valve, would guess you got one in the package too Chen?
 

oshiet

New Member
No need to install check valves, they often fail (even George Fisher ones) and are a nuisance to clean or service which you have to do every few months. Just drill a small hole around 1/4" on the bottom or side of the linelock output at the Y splitters. This will act as your siphon break once the water goes below that level. It's not very noticeable, and you won't loose much output flow doing this either.

Another recommendation I would make is to build yourself a Durso or Stockman overflow standpipe while you have the chance. It beats having to hear the constant gurgling of your drains and will give you more flow since it will be under siphon.

Congrats on the new tank! I'll be following your build.
If you need a hand with anything, you have my number Chen.

Vince
PS, sorry I haven't had a chance to take those pictures for you yet.
 
Last edited:

chen88

Super Moderator
Thanks Vince. I will drill drill the hole at the y of the loc line instead of installing the flow valve. The less connections I have to make, the less chances if any leaks!

Also plan on the durso pipe method to reduce noise.

Thanks.
 

chen88

Super Moderator
OK...no pics...to tired....spend another few hours today...have all light and outlets setup. Can't put sump together until tomorrow when I move the stand back out so I can turn the sump around and put it back.

I've got 4 36" Lights (4 blubs, 2 actnic and 2 day). I have the 2 act's on timers to come on at 9pm, off at 11pm, then on again at 5am and off at 7am. For the Day light I've got that on a light switch as I'll only be turning it on for those "Show off" times....other then that I won't be turning them on much other then cleaning...

Next is setup sump, heaters and UV. I need a couple of pvc fixtures to connect pump to the uv sterilizer so that won't happen until monday/tuesday..... Plan on getting everything setup and fill with water by next weekend.

Theo????? where are you at :)
 

chen88

Super Moderator
Well...here's some teasers....Here are some pics of the 2 pumps ready to be connected...they are MONSTERS....and oh yeah the other Monster is the 50Watt UV Sterilizer...There's a photo of the tank just the day light on, and the other is with the just the actinic light. Also in one of the photos you will see 4 black spacers that I glued to the tank with aquarium silicon....As there's always issues with suction cups coming off after a while..I thought of this today by putting in spacers (from my spare tv wall mount) so that I can feed the air tubes through then and then into my air disc that. I also will be putting through the temp sensor for my heater controller so that it too does not come loose!...

Also another thing I will be doing is buying a thick plastic sheet and placing it under my sump with enough of it to wrap around a 1x3 wood that will be surround the entire sump...I'm doing this as I know I will have water spilling over the sump when I'm playing around with the media and or changing the filter floss. This way I will ensure water does not get under the stand and onto my hardwood floor...

IMG_0521.jpg

IMG_0528.jpg

IMG_0529.jpg

IMG_0535.jpg
 
Top