Joey
Moderator
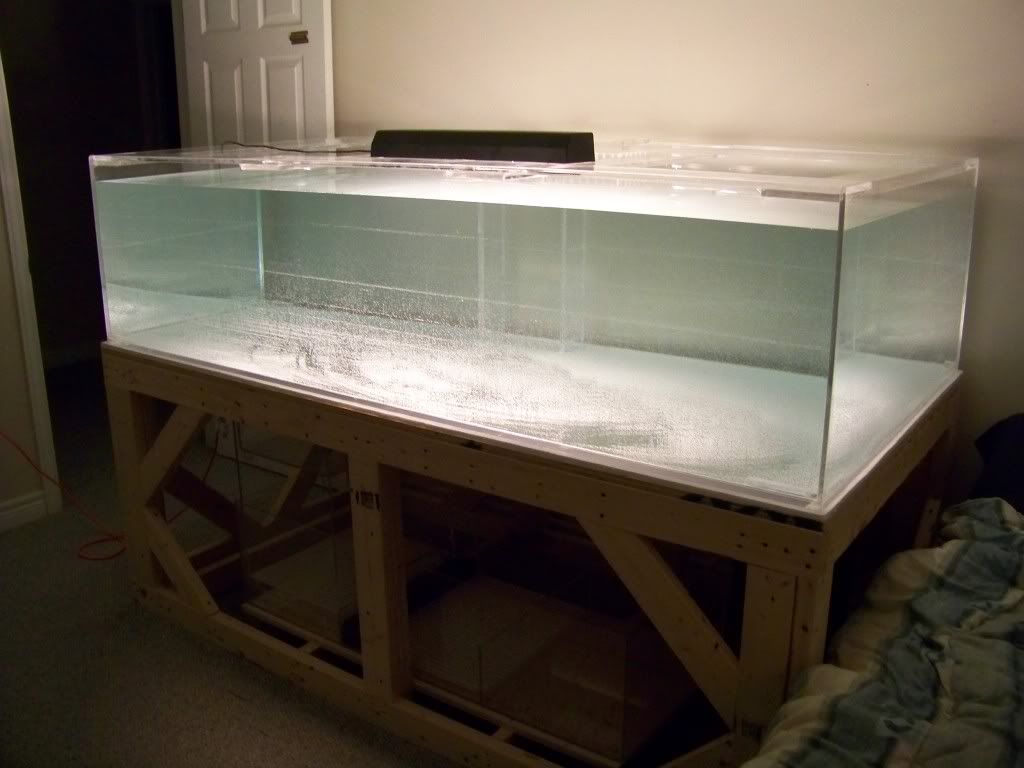
After building my plywood tank last year, i wanted a bigger tank. I was going to build another plywood tank, but really wanted either a huge glass or acrylic tank.
I went with acrylic.
I used 1/2" cell cast acrylic for the entire tank.
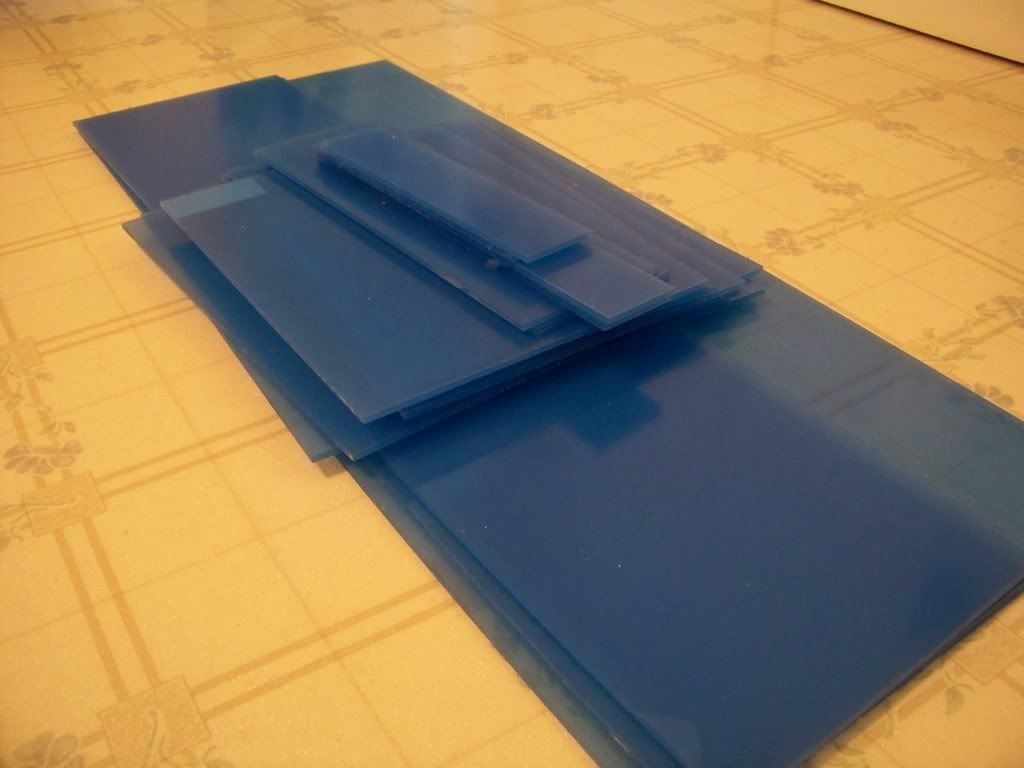
Since it is cheaper to buy full sheets of acrylic rather than certain sized pieces, i had to determine tank dimentions out of 2 full sheets that were 100"x51". I also had to consider the fact that if i were to have it cut up into the sizes i wanted, i had to have it cut into all straight cuts.(saw has to go threw one end and out the other)
I came up with the dimentions of 80"X40"X20.5" (284 gallons). This included the entire tank,all of its bracing and overflow box. since the tank is only 20.5' tall, this raised the tanks overall safety factor by almost double. I didnt need alot of height, just width and length.
So i ordered the acrylic, had it cut to size, and took it home... all i had to do was put it together... easier said then done..
To cement the tank together, i picked up a pint of weld-on 4, an applicator and a couple of tubes of weld-on 16.
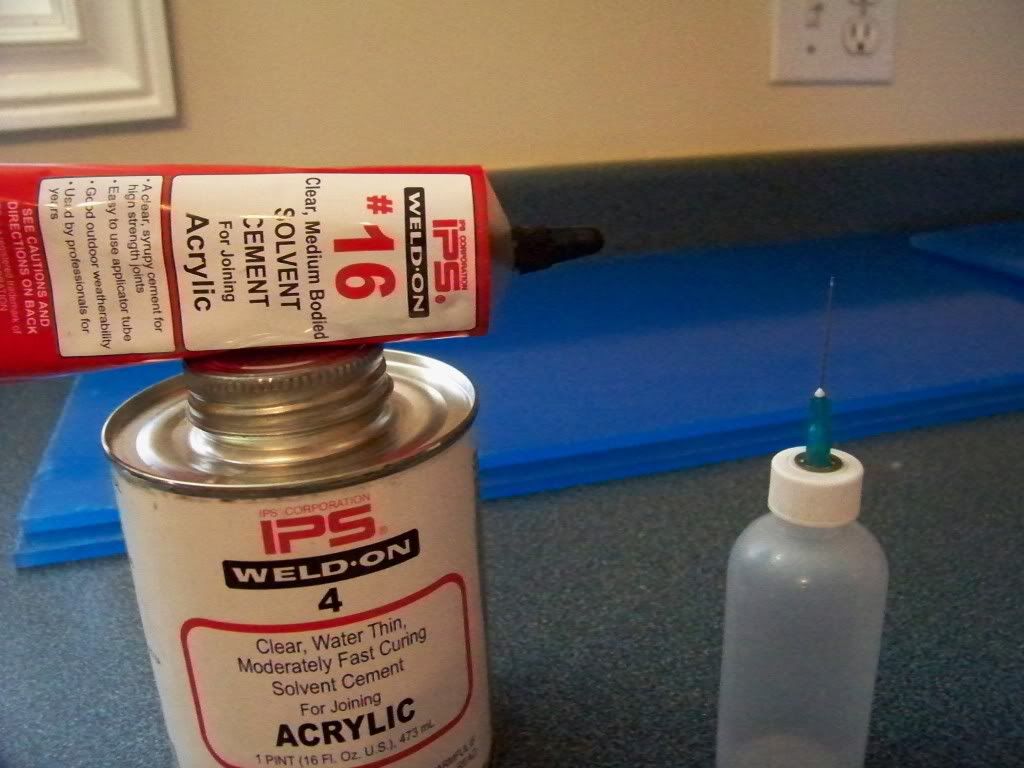
The edges of the acrylic have to be perfectly smooth for the bond to be strong. Routing or bench jointing are the right metods, but i dont have either, i only have poor man tools
So i used the back of a hack saw blade. I broke the blade in two pieces to shorten it as it was bending as i was using it and rounding off the edges(dont want that) All i did was pull the blade length wise across the edge of the panel, shaving off the saw marks until it was smooth. To prepare all edges was very time consuming, approx. 4 hrs to do the whole tank.
Here is an example of an unprepared edge, and a partially prepared edge.
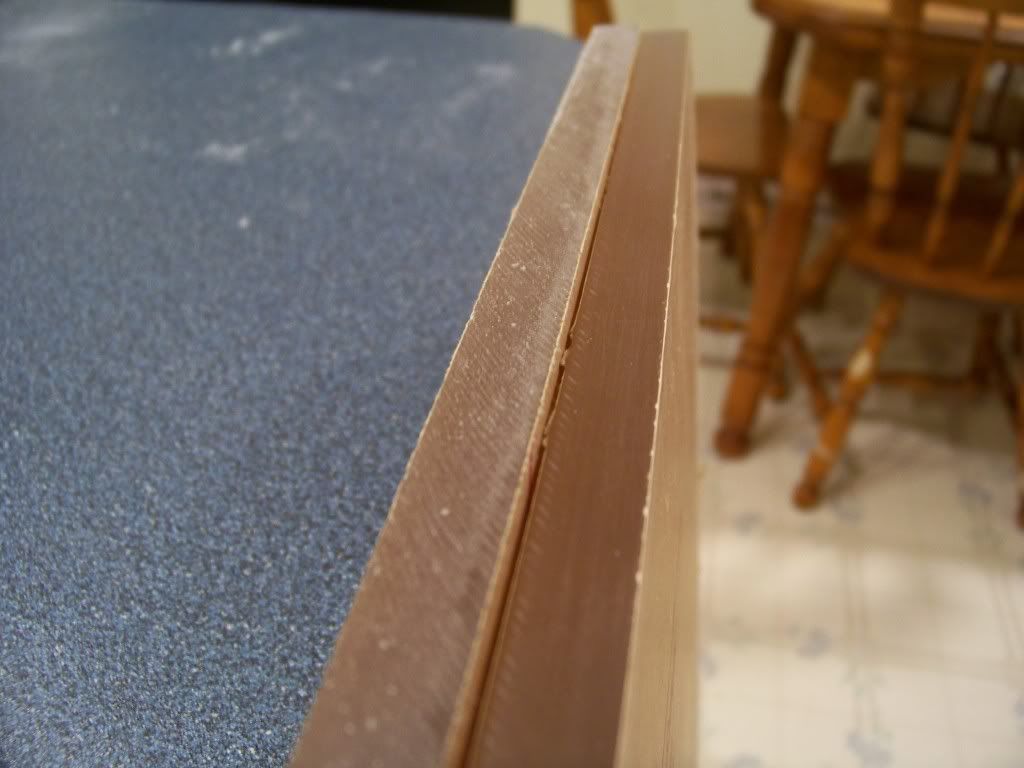
Big difference.... i went on the shave some more off and then sanded it a bit more with very fine sandpaper.
I didnt get any pictures of the tank build.. i forgot to take some...
Basically i layed the bottom pice on the ground and started with the side panels. The cement bonds very fast, so i only needed to hold them in place for about a munute, until they were free standing. i made sure the pieces were flush with the edges and right angles. I left the protective paper on the whole time in case i dripped some of the cement. i only pulled enough back from the edges to be able to see what i was doing.
Once all four walls were up, i started with the braces. I used 6" wide braces all around.
Since all of the braces over lap, the places that it does overlap is 1" thick. have it 1" thick, especially in the top corners where it adds a tremendous amount of support.
I also had a long strip of 1"x.5" acrylic left over, so i cut that into 5" strips and angled them in each bottom corner for added support.
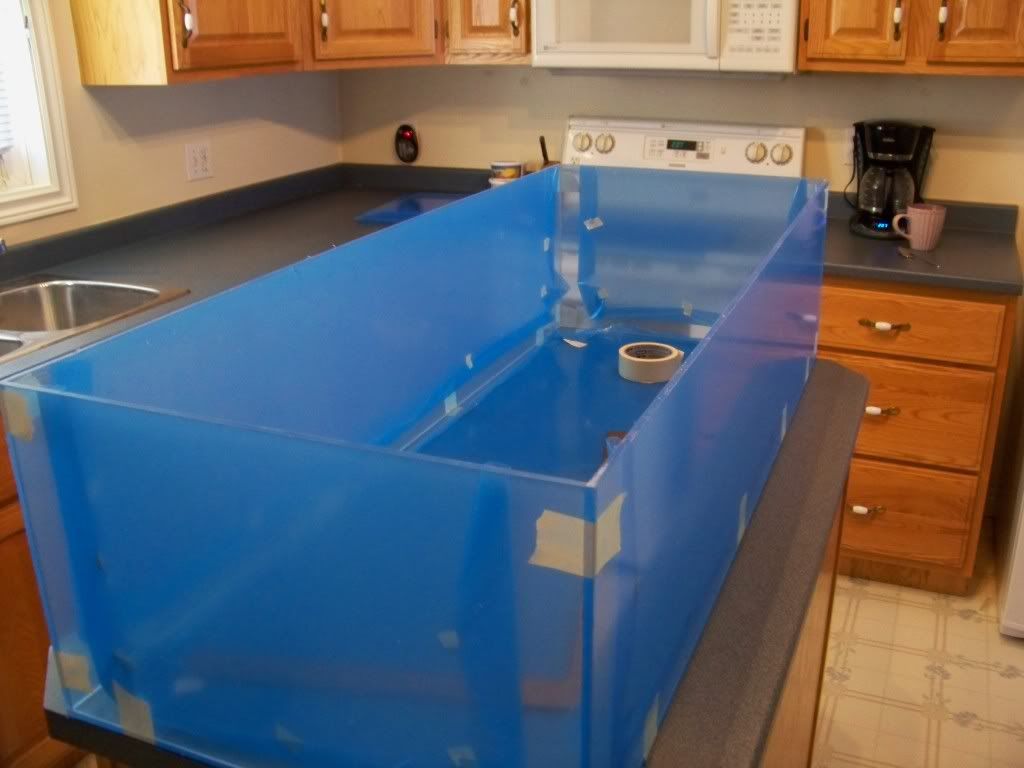
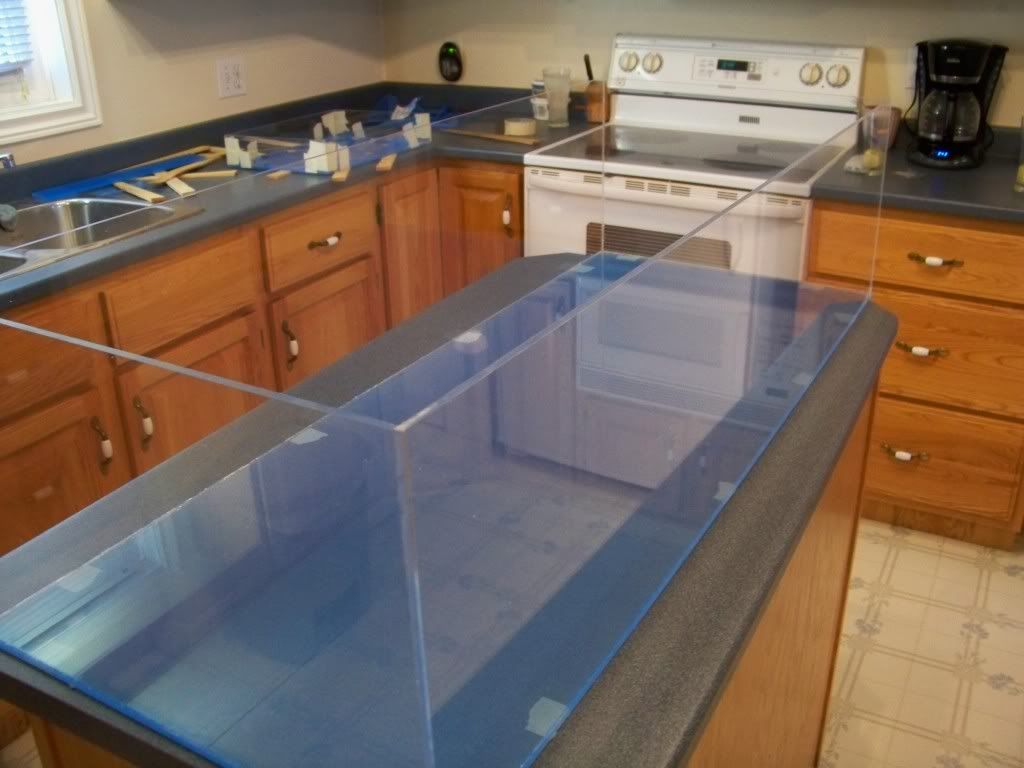
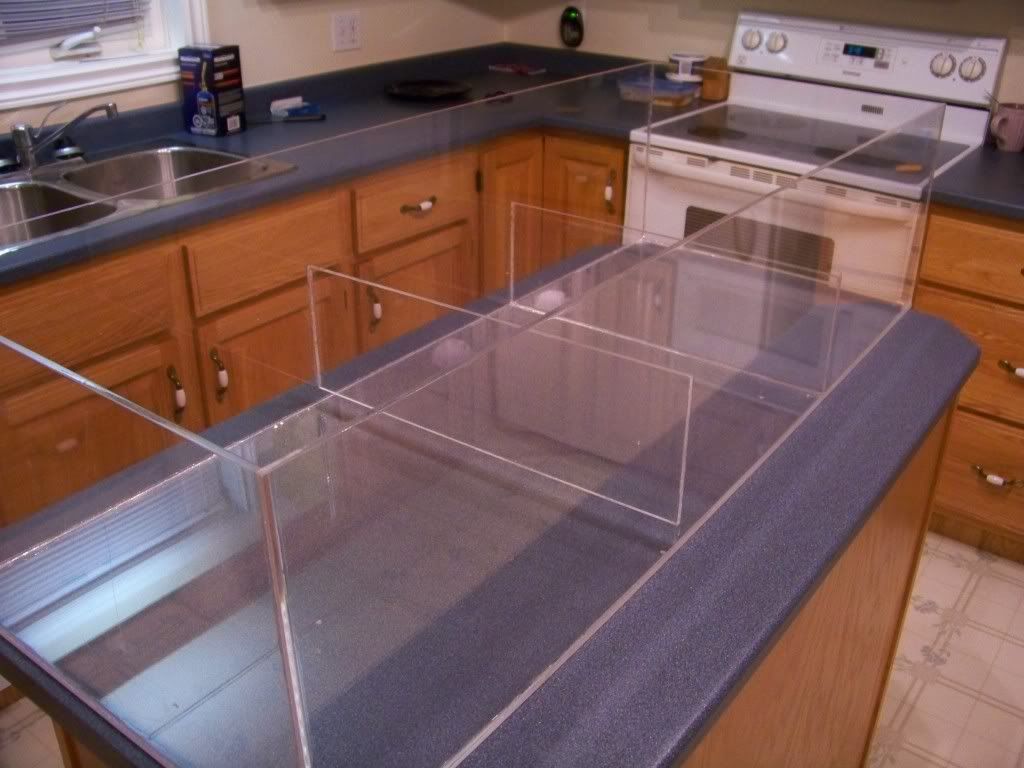
Here is the tank with all of its bracing and paper still on it...
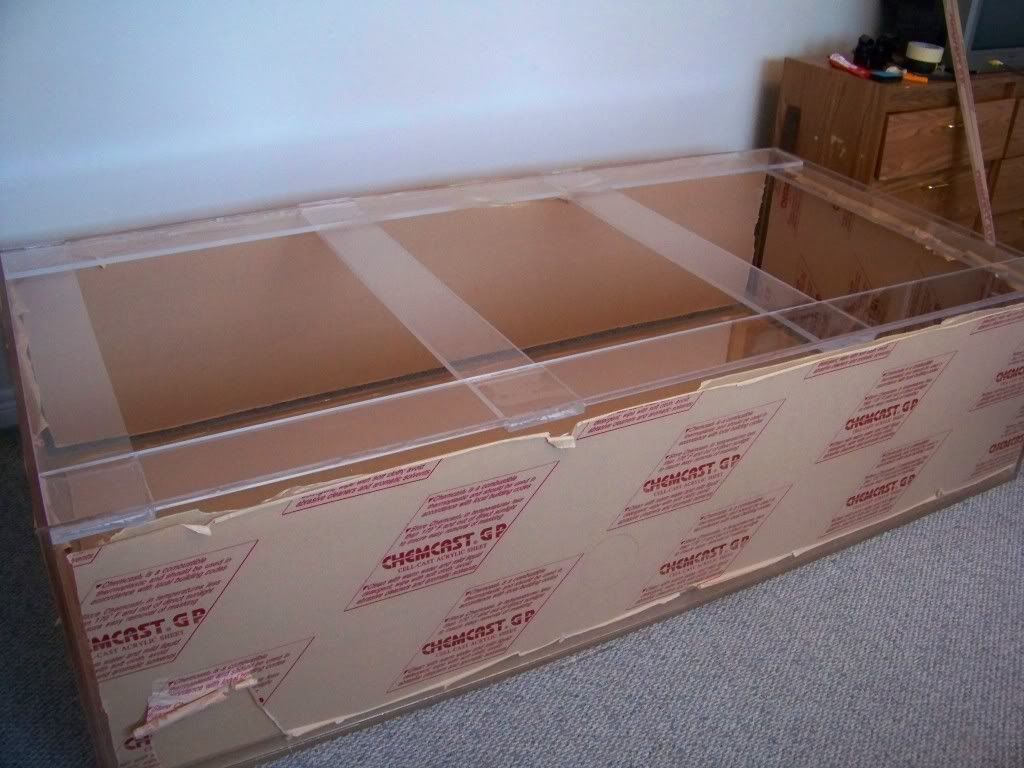
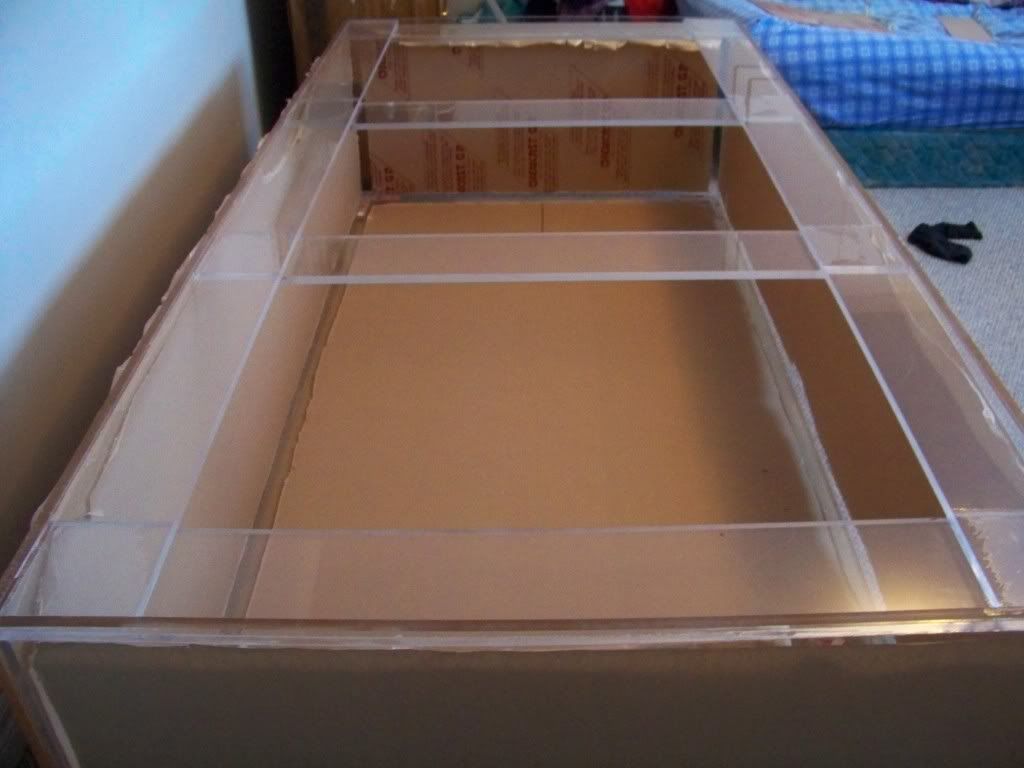
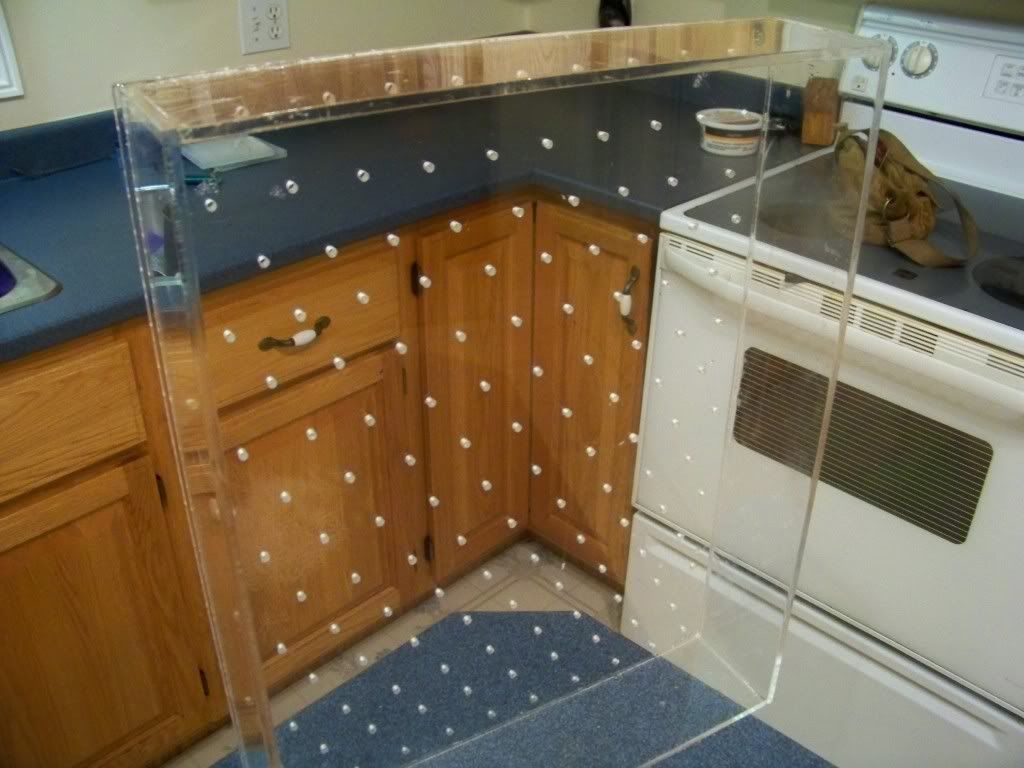
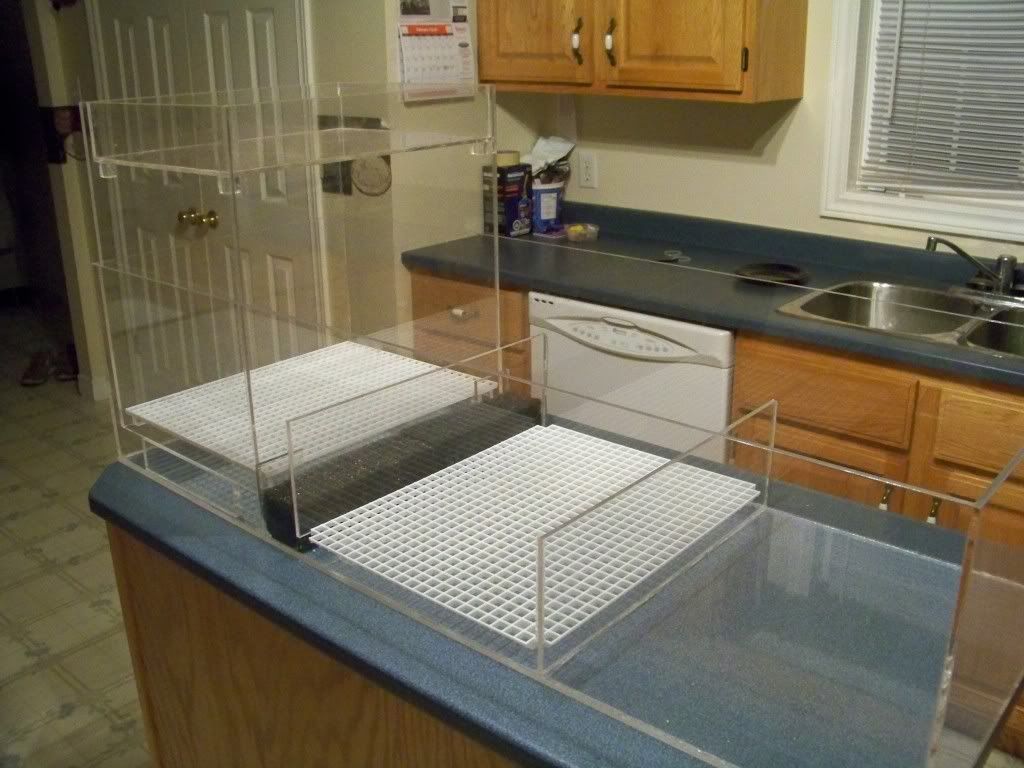
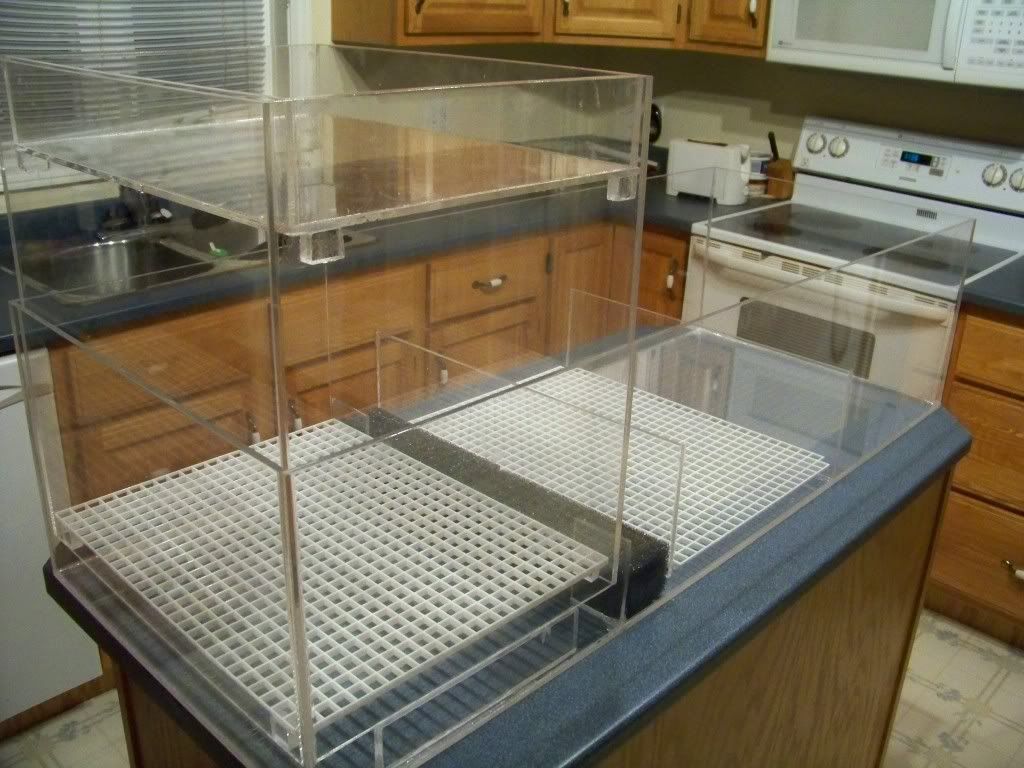
Paper removed except bottom outside. Overflow box i made, also in pic in postion...
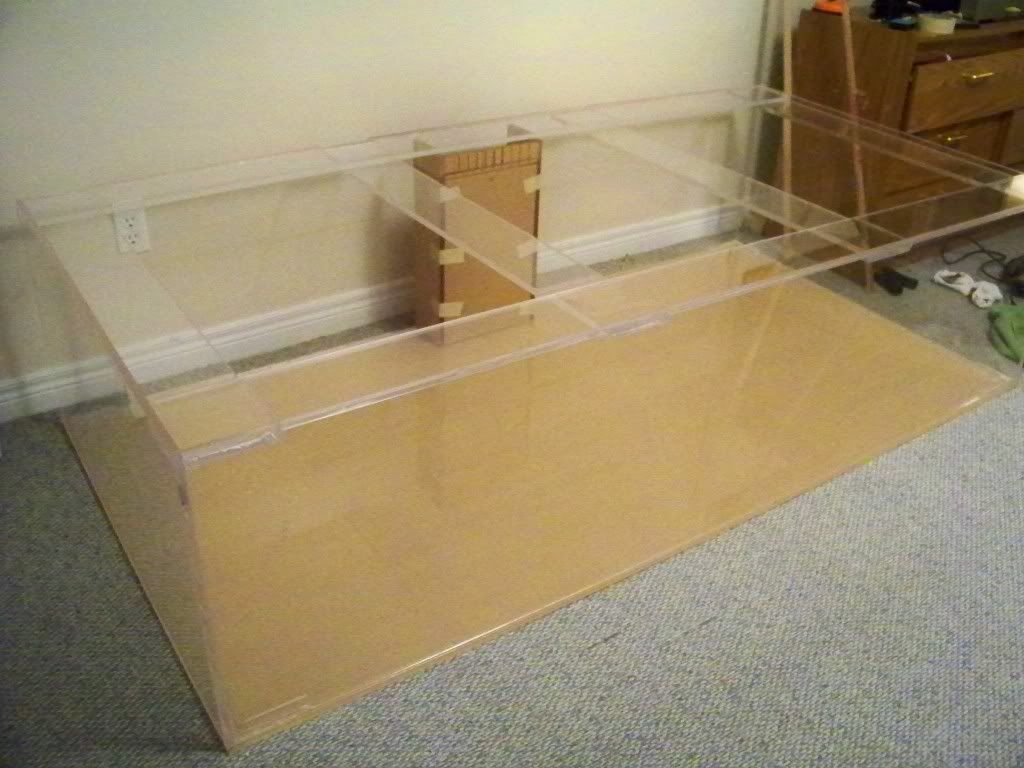
I used weld-on 16, which is alot hicker that the water thin weld- 4, to seal all of the inside seams. It was not needed, but insured me that any pin holes or small gaps were sealed. it drys clear anyway, and is not that noticeable.
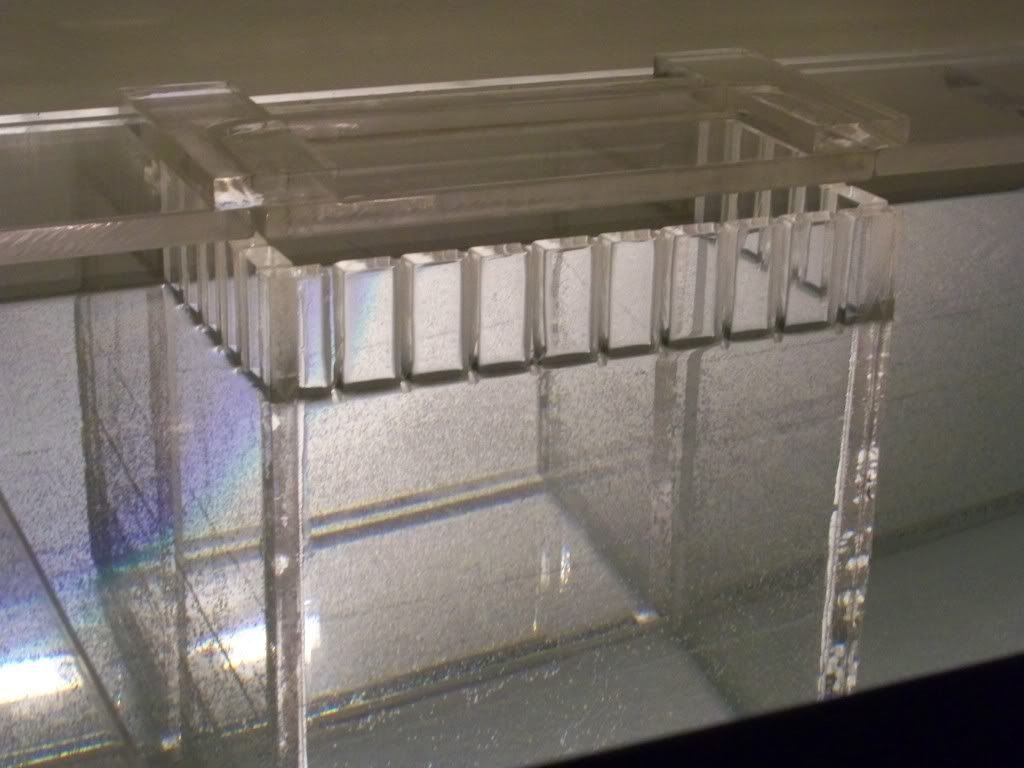
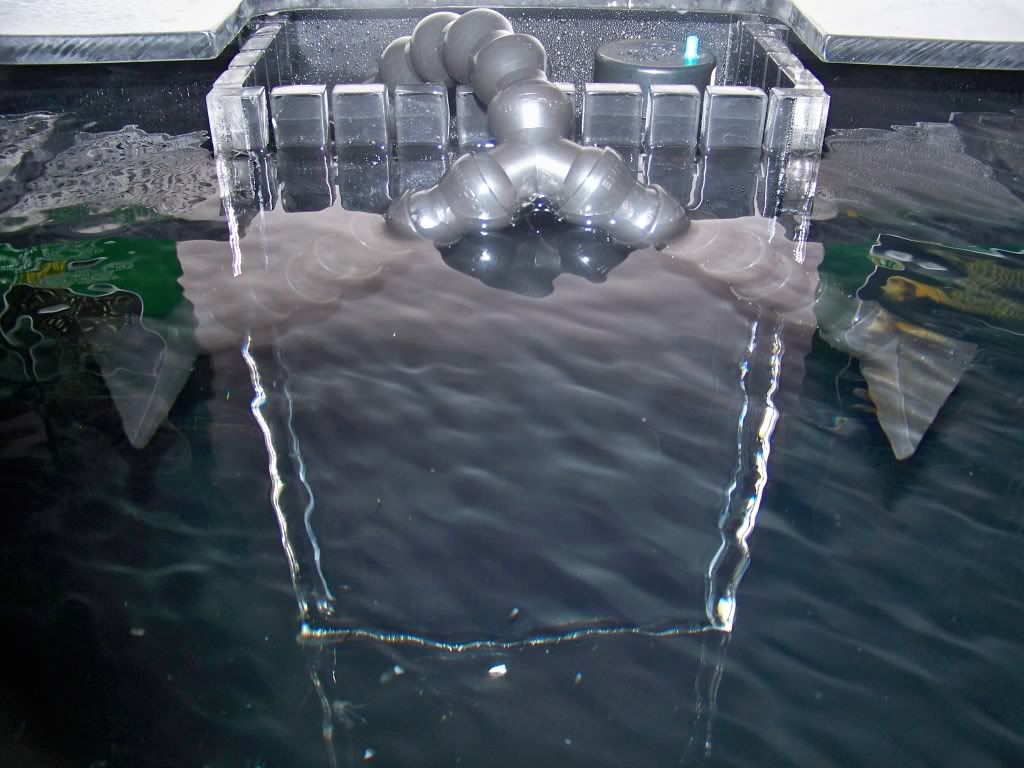
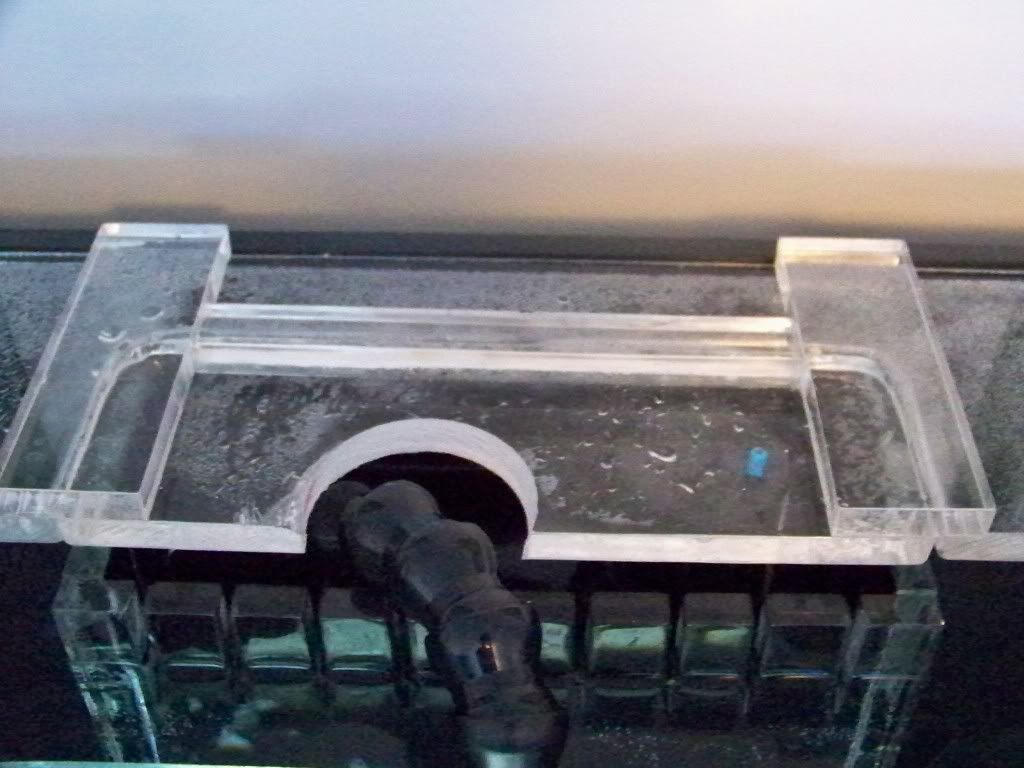
I made the overflow box 10" long and 5" wide and the same heigth as the inside of the tank. I cut the teeth of the overflow with a metre saw..not what is usually used, but it worked. I cut threw half of one side and then flipped it over and finnished cutting threw.
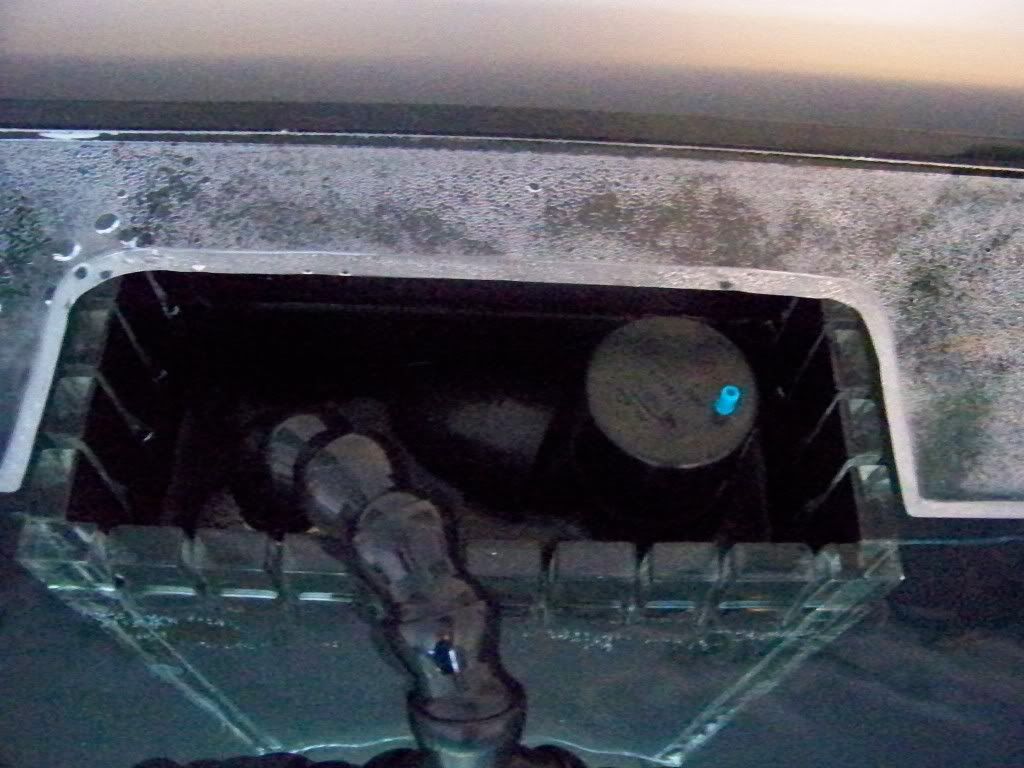
I ran into a problem when i placed it. I couldnt access the inside of the box for maintainence if i needed to as the supports were blocking access.
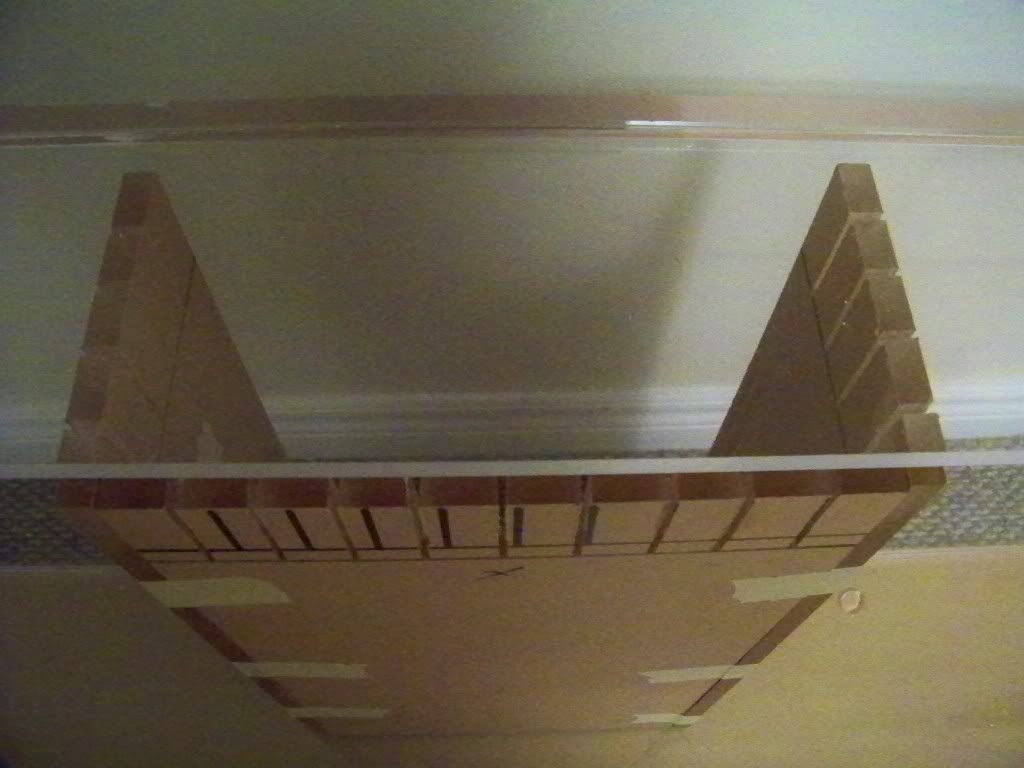
So i had to cut out a piece..... i cleaned up the appeance of the cut later on in the build.
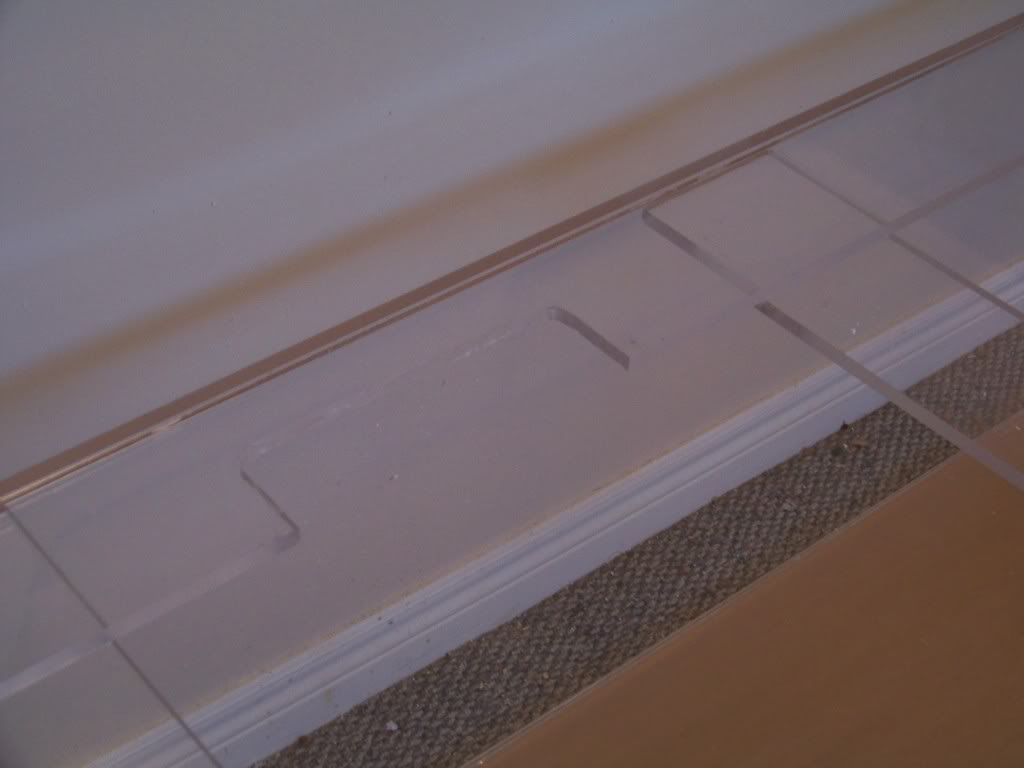

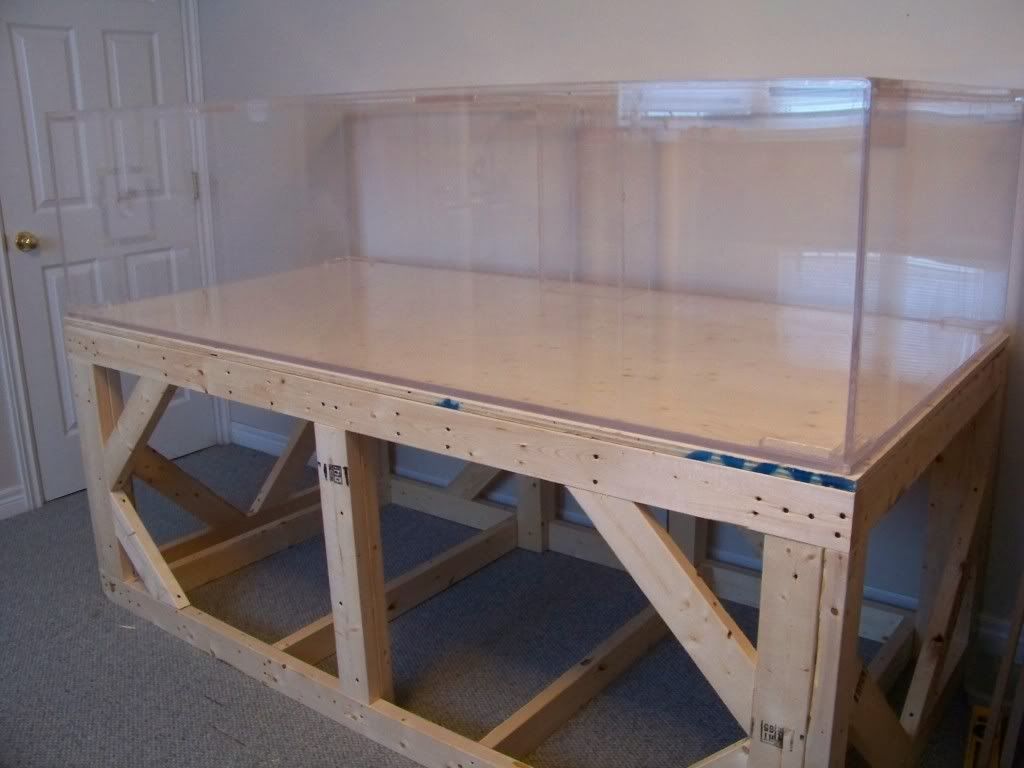
Now that the tank was basically done. i removed all of the protective paper.... and did a test fill...
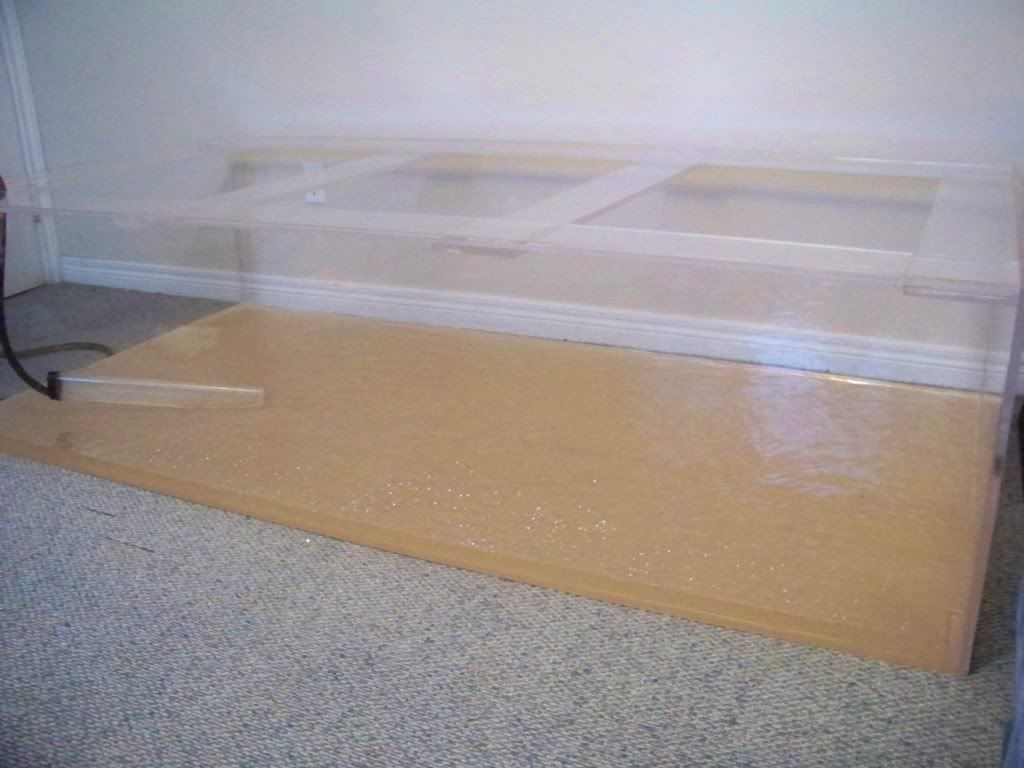
It hel water no problem for a day, so i drained it and started to flame polish all of the edges.. flame polishing the edges makes the edges appear clear like a glass tanks would.
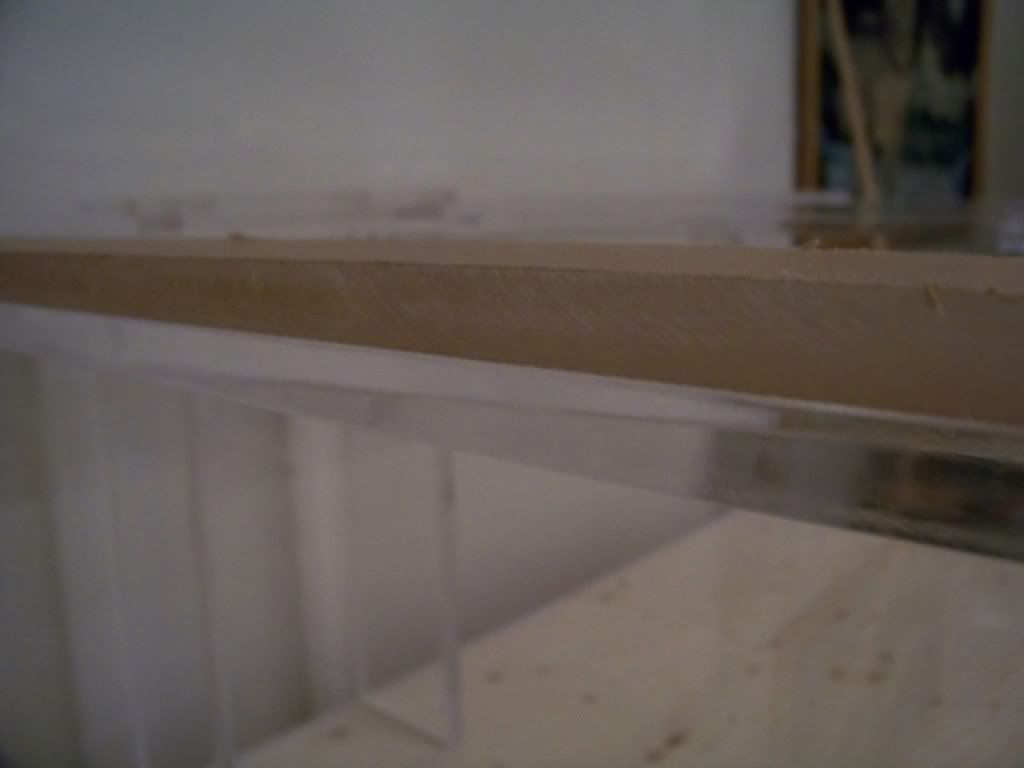
Here is a poor example of a flame polished edge against a raw edge... the raw piece is laying on top of the flame polished one...
I went with acrylic.
I used 1/2" cell cast acrylic for the entire tank.
Since it is cheaper to buy full sheets of acrylic rather than certain sized pieces, i had to determine tank dimentions out of 2 full sheets that were 100"x51". I also had to consider the fact that if i were to have it cut up into the sizes i wanted, i had to have it cut into all straight cuts.(saw has to go threw one end and out the other)
I came up with the dimentions of 80"X40"X20.5" (284 gallons). This included the entire tank,all of its bracing and overflow box. since the tank is only 20.5' tall, this raised the tanks overall safety factor by almost double. I didnt need alot of height, just width and length.
So i ordered the acrylic, had it cut to size, and took it home... all i had to do was put it together... easier said then done..
To cement the tank together, i picked up a pint of weld-on 4, an applicator and a couple of tubes of weld-on 16.

The edges of the acrylic have to be perfectly smooth for the bond to be strong. Routing or bench jointing are the right metods, but i dont have either, i only have poor man tools
So i used the back of a hack saw blade. I broke the blade in two pieces to shorten it as it was bending as i was using it and rounding off the edges(dont want that) All i did was pull the blade length wise across the edge of the panel, shaving off the saw marks until it was smooth. To prepare all edges was very time consuming, approx. 4 hrs to do the whole tank.
Here is an example of an unprepared edge, and a partially prepared edge.

Big difference.... i went on the shave some more off and then sanded it a bit more with very fine sandpaper.
I didnt get any pictures of the tank build.. i forgot to take some...
Basically i layed the bottom pice on the ground and started with the side panels. The cement bonds very fast, so i only needed to hold them in place for about a munute, until they were free standing. i made sure the pieces were flush with the edges and right angles. I left the protective paper on the whole time in case i dripped some of the cement. i only pulled enough back from the edges to be able to see what i was doing.
Once all four walls were up, i started with the braces. I used 6" wide braces all around.
Since all of the braces over lap, the places that it does overlap is 1" thick. have it 1" thick, especially in the top corners where it adds a tremendous amount of support.
I also had a long strip of 1"x.5" acrylic left over, so i cut that into 5" strips and angled them in each bottom corner for added support.
Here is the tank with all of its bracing and paper still on it...


Paper removed except bottom outside. Overflow box i made, also in pic in postion...

I used weld-on 16, which is alot hicker that the water thin weld- 4, to seal all of the inside seams. It was not needed, but insured me that any pin holes or small gaps were sealed. it drys clear anyway, and is not that noticeable.
I made the overflow box 10" long and 5" wide and the same heigth as the inside of the tank. I cut the teeth of the overflow with a metre saw..not what is usually used, but it worked. I cut threw half of one side and then flipped it over and finnished cutting threw.
I ran into a problem when i placed it. I couldnt access the inside of the box for maintainence if i needed to as the supports were blocking access.

So i had to cut out a piece..... i cleaned up the appeance of the cut later on in the build.


Now that the tank was basically done. i removed all of the protective paper.... and did a test fill...

It hel water no problem for a day, so i drained it and started to flame polish all of the edges.. flame polishing the edges makes the edges appear clear like a glass tanks would.
Here is a poor example of a flame polished edge against a raw edge... the raw piece is laying on top of the flame polished one...


